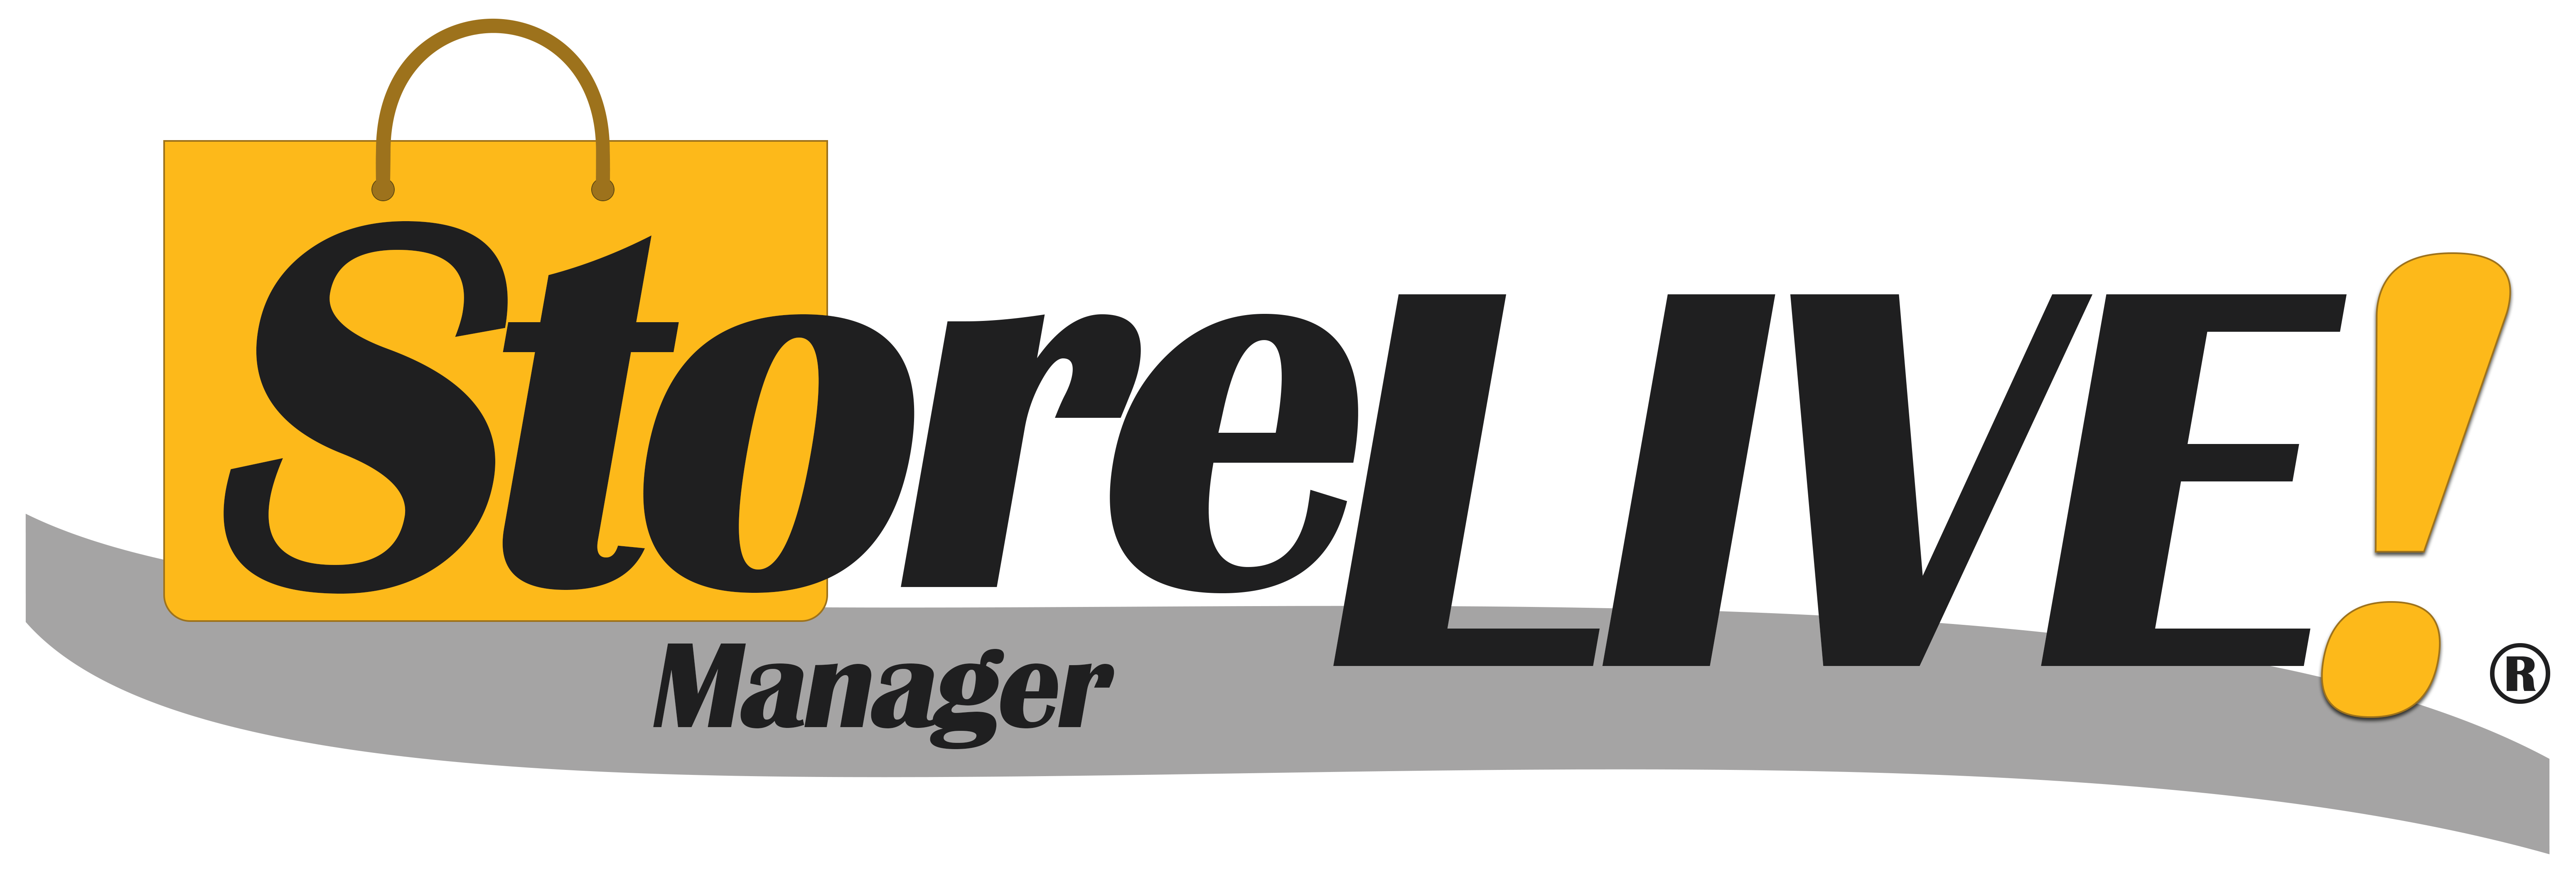
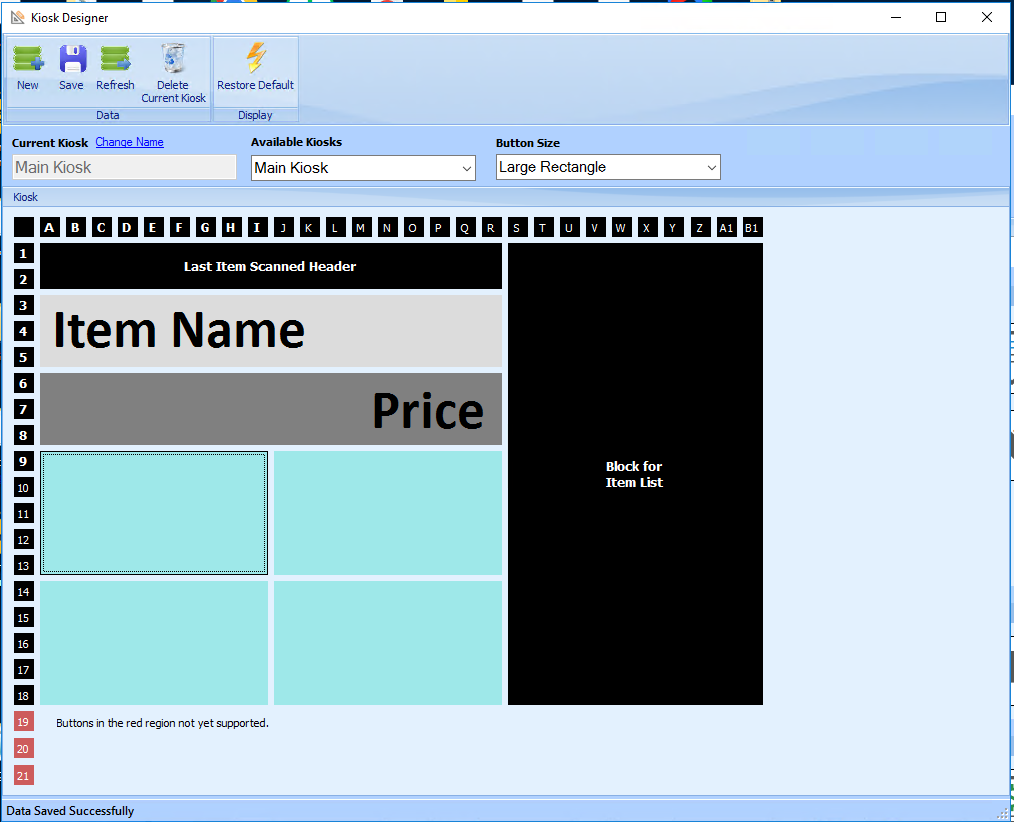
Self checkout (kiosk) buttons are created under the Kiosk designer in settings.
.png?cb=0337f83470115158a0cad71b5cedb542)
Creating an Item Button
Set the button size for the page. Click on the button to configure the button.
-
Set item that the button sells by clicking the 3 Dots button in the SKU or UPC field
-
Enter the description.
-
Set the font size for the description.
-
Choose a color for the button
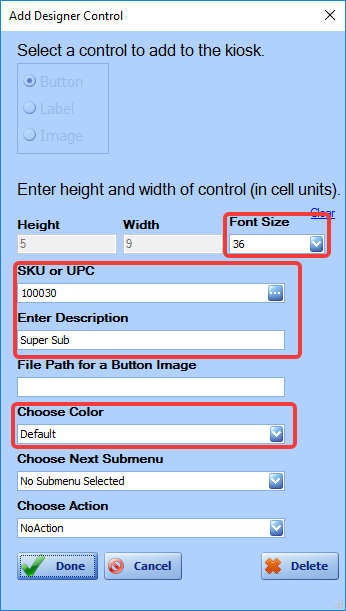
Click Done.
Creating Menu Button
To create a button that links to another page first create the new page by clicking new in the ribbon at the top and enter the page name.
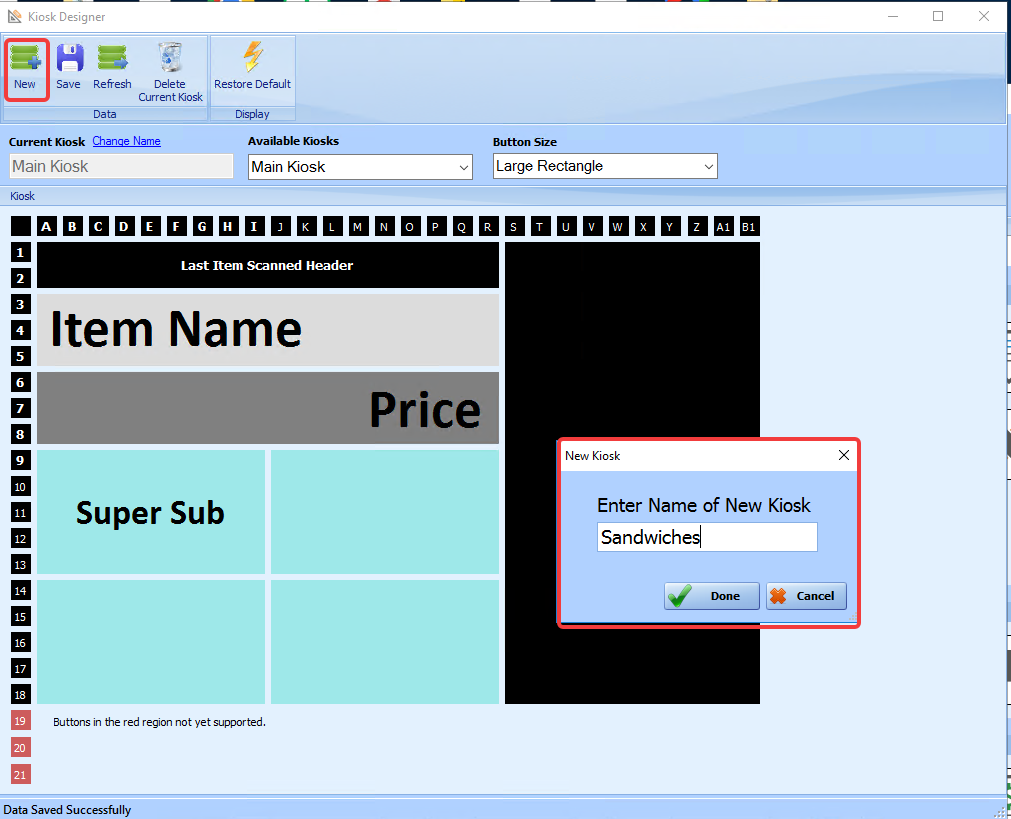
Now create a button on the main page and rather than linking to an item, Choose Next Submenu then enter the description. Set the font size for the description.
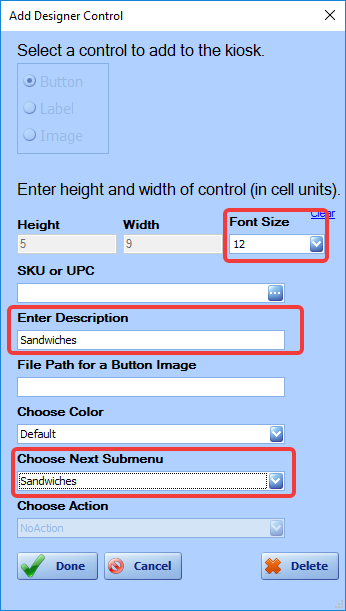
Items buttons can then be created in the new Kiosk page.
Buttons can be moved by dragging and dropping them into positioned.
Setting Images on Buttons
Images can be placed on the the buttons to display a picture of the product. Click on the button then click the ‘File Path for the Button Image’ field. Navigate to the image on your computer and select it then click open. The image completely fills the button and therefore takes the place of the description and color settings. Any descriptions and background colors should be part of the image.
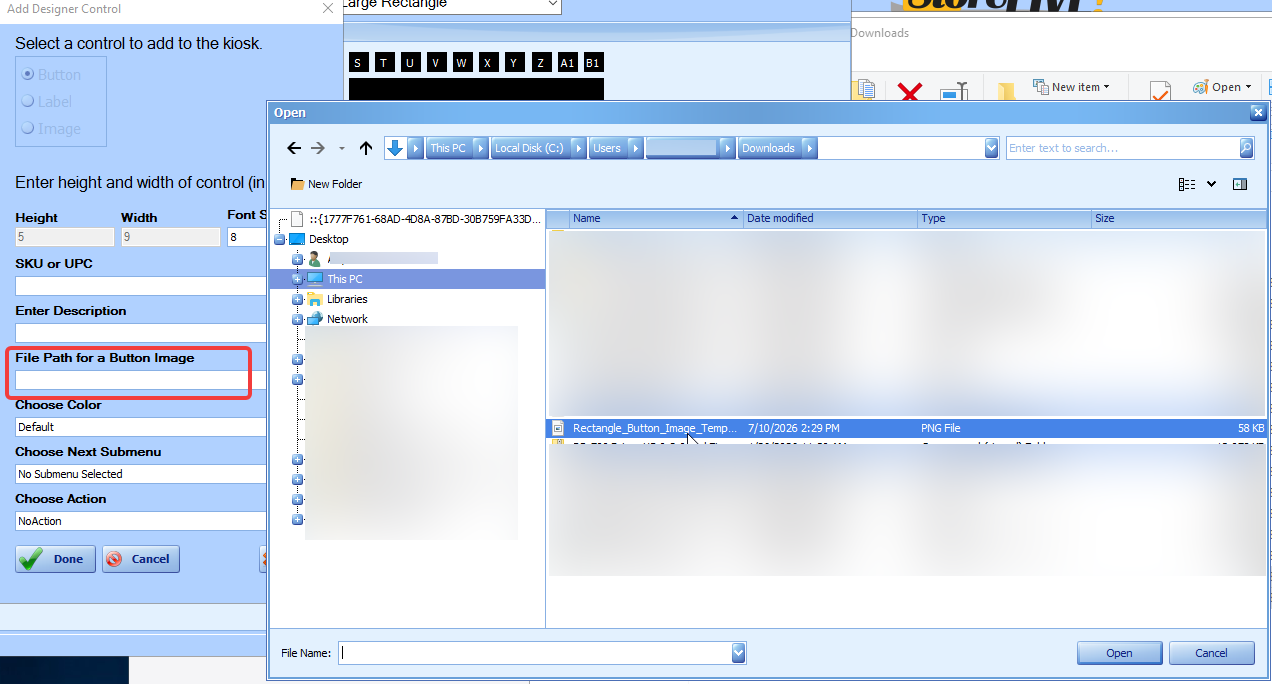
These Photoshop templates can be used to create images for the all sizes of square and rectangle Buttons. Square_Button_Image_Template.psd Rectangle_Button_Image_Template.psd
Image resolutions for the different button sizes.
|
Large Rectangle |
228 |
124 |
|
Large Square |
124 |
124 |
|
Medium Rectangle |
150 |
72 |
|
Medium Square |
72 |
72 |
|
Small Rectangle |
72 |
46 |
|
Small Square |
46 |
46 |
Delete a Button
A button can be deleted by double clicking on the button an clicking the Delete button.
