
A group of non-inventory items that have no Vendor assigned to them may be converted to Inventory Items by following several steps.
Step 1 is to assign the vendor to the items
-
From the StoreLIVE! Manager Main Menu, click Item Maintenance.
-
In the Vendor dropdown, choose the vendor you will purchase the products from.
-
Click the Vendor Information button on the toolbar to launch the “Vendor Information Change” screen.

-
On the Vendor Information Change screen, click “Add Vendor to Items”.
-
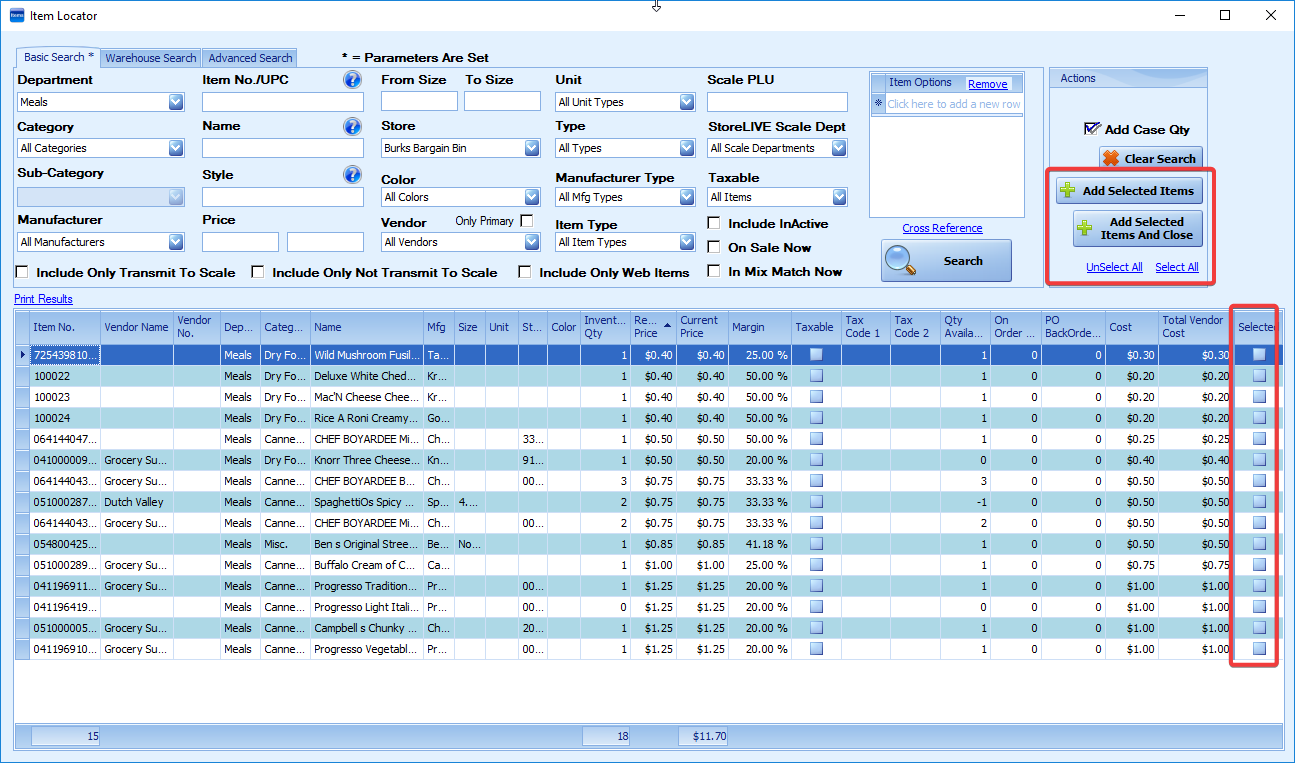
When the Item Locator screen appears, enter search criteria and click Search to locate the item(s) you wish to assign to the vendor selected in step 2.
-
Check the “Select” column next to each item you want to assign to the vendor, or click the “Select All” link to select all the displayed items.
-
Click the “Add Selected Items” button to return to the previous screen.
-
The items should be listed on the Vendor Information change screen, and the following fields can be edited as needed:
-
Vendor Part No. – This is the Vendor’s part or item number that they use to identify this item.
-
Min Order – this is the minimum quantity the vendor allows you to order. This value is used when auto-generating purchase orders.
-
Order Qty – this is the order multiple that the vendor requires. In other words, if you order by “each” but the vendor requires that you order in cases quantities of 6, you would set this field to 6. This value is used when auto-generating purchase orders.
-
Auto Order – if checked, this item will be included when auto-generating purchase orders.
-
New Cost – your cost from the vendor. This is the cost that will be auto-entered on purchase orders when you add the item to the purchase order or receive the item without a purchase order.
-
-
When finished entering the information, click the Save button on the toolbar to save changes.
10. Close the Vendor Information screen and return to the Item Locator.
Step 2 is to Change the Item type from Non-Inventory Item to “Inventory Item”
-
In the Item Locator, enter search criteria and press search to locate the items to change from Non-Inventory to “Inventory”.
-
After the search results are displayed, click the “Item Information” icon on the toolbar.
-
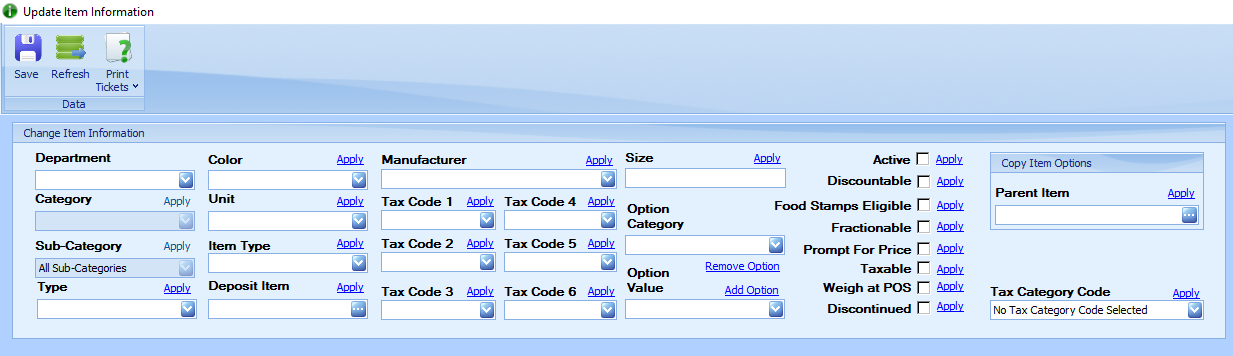
The “Update Item Information” screen will display.
-
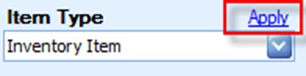
In the “Change Item Information” section of the screen, select “Inventory Item” from the Item Type dropdown.
-
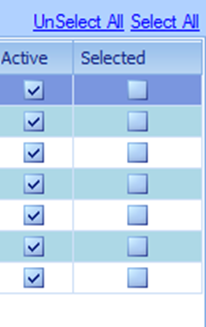
Check the “Selected” check box next to each item that you want to change to an Inventory Item, or click the “Select All” link to select all items.
-
Click the “Apply” link to the right of the Item Type drop down.
-
The Item Type for each selected item should change to “Inventory Item”.
-
Click the Save button in the toolbar to save changes.
Entering Initial Item Counts
When starting to use inventory tracking for an item, it is necessary to enter the initial item count into the system. The initial item count entry should only be used for existing items that already have been purchased. When purchasing new items, the Receiving feature should be used to add the item counts to inventory.
To enter the initial item count:
-
Click the Inventory Menu button on the StoreLIVE! Manager Main Menu.
-
When the Inventory Menu appears, click the Inventory Count button.
-
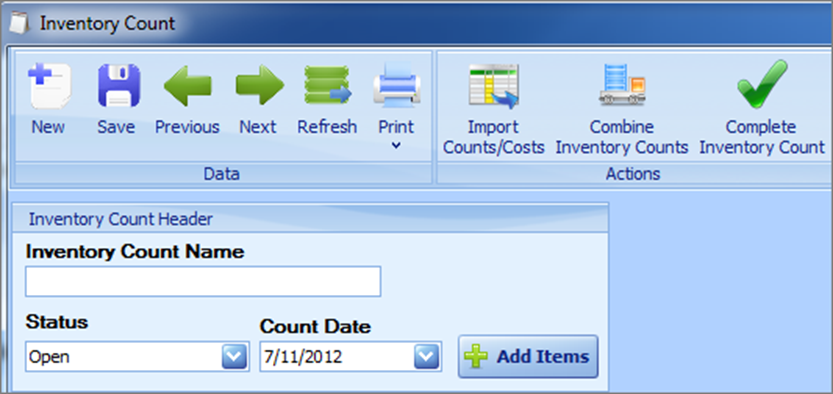
When the Inventory Count Document Locator screen appears, click the “New Inventory Count” button to create a new count document. (or use the search features to locate an existing document if one has already been started)
-
In the Inventory Count Name field, enter a description such as “Starting Count”.
-
The status and count date should default to Open and the current date.
-
Verify the warehouse dropdown is set to the warehouse location of the items you are counting. If using multiple locations within the warehouse, check the “defaults enabled” box, and select the specific location you are counting.
-
Enter or scan the Item number or UPC of the item you are counting into the Barcode field and press enter.

-
The item will be added to the Inventory Count document with a count quantity of one.
-
Pressing enter again will increment the quantity by 1. Alternately, you can click on the “Inventory Count” column and manually enter a quantity.
10. 2 other shortcuts are also available to enter quantities. If you have a count before you enter the first item number, you can enter the quantity in the Barcode field, and press *. For example, to input a quantity of 6, enter 6*. This will set the pending quantity to 6, and when the item number is scanned or entered, it will be added with a quantity of 6.
11. Alternately, you can increment the quantity after an item number has been entered. To do this, enter the number followed by the + sign. This will increment the quantity of the last item entered or scanned. For example, to add 5 to the existing quantity, enter 5+.
12. After all items have been counted and entered, click the “Complete Inventory Count” button on the toolbar. This will commit the item counts to the system.
