
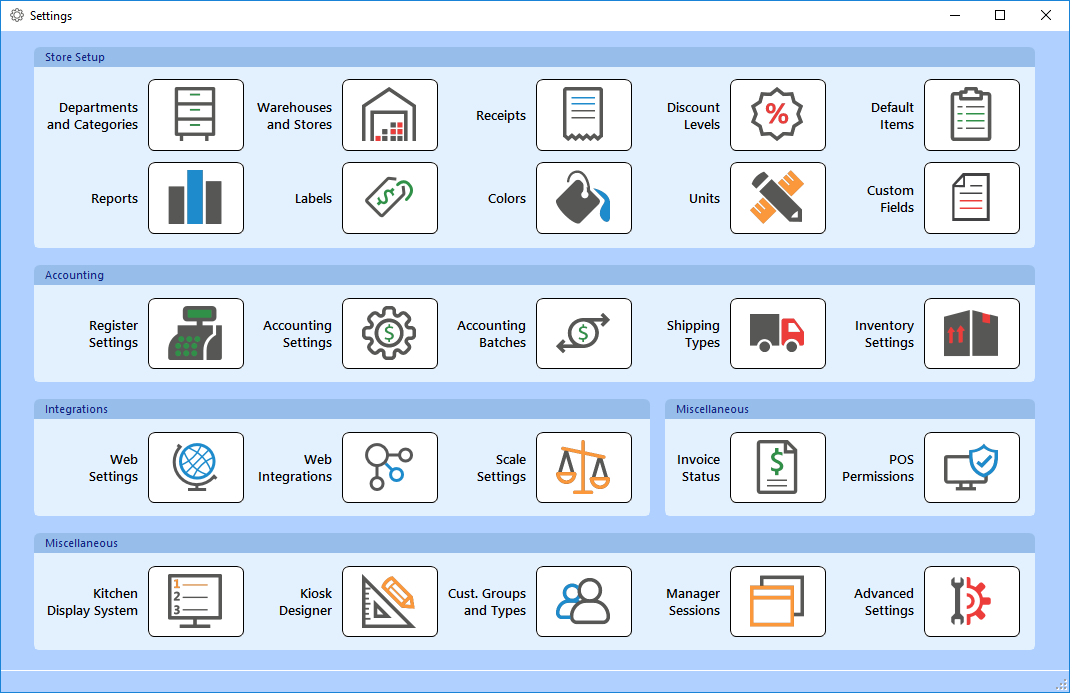
The StoreLIVE! Manager Settings application allows various settings to be configured. This includes the information that will print on the receipt header and footer and the address that will print on the receipt as well as many other advanced settings that will affect the way the system works.
Receipts
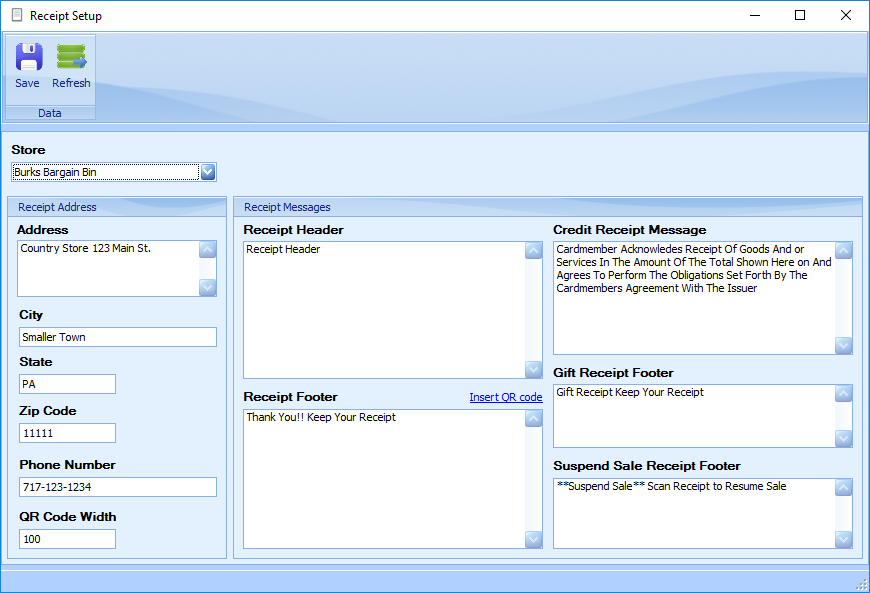
Just under the menu bar there is a Store dropdown menu. This menu is used to determine which store the settings in the lower half of the screen are affecting.
This screen allows customization of what is printed on the Store receipts. This includes options such as store address and phone number, and a header and footer.
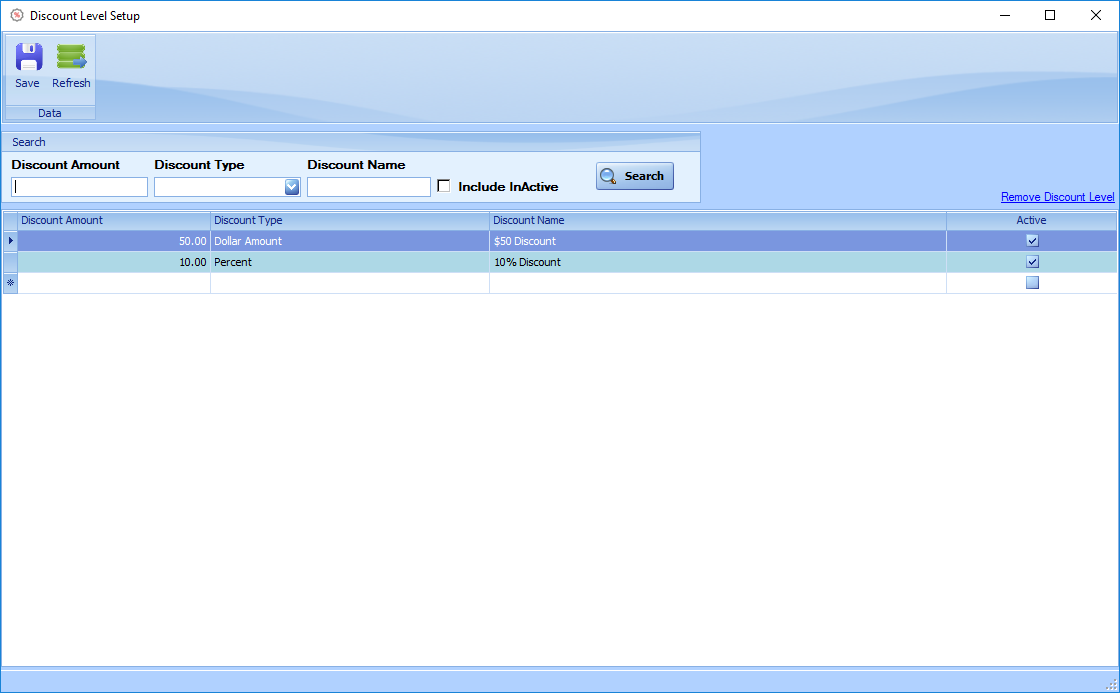
Discount Levels
This screen allows discount level to be created. Discount levels can be applied to a customer to automatically give them a discount at the POS register or on Sale Invoices.
Creating a discount Level:
-
Enter the name for the discount level.
-
Select the discount type
-
Dollar Discount
-
Percent
-
-
Enter the discount amount.
Default Items
This screen allows you to set defaults for new items.
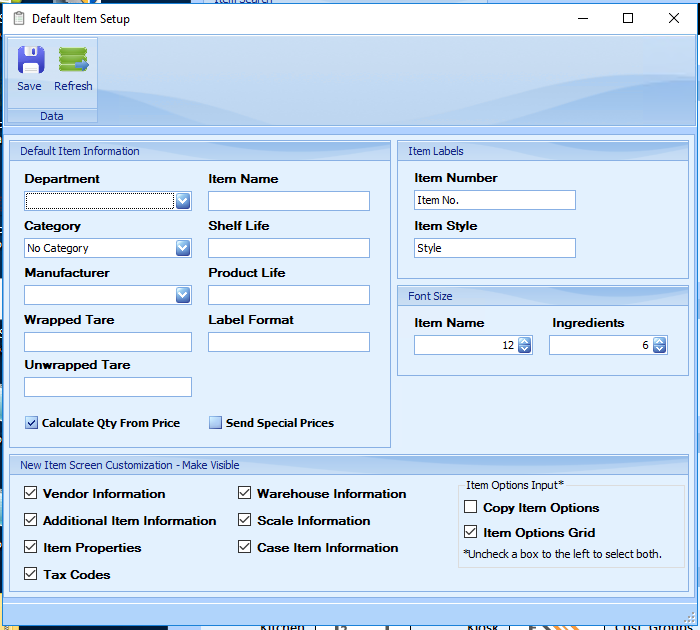
Default Item Information: The options selected on this screen will automatically be applied to new items
Item Labels: This allows you to customize the names of the Item Number field and Item Style field.
Font Size: These options set the default font sizes sent to the scale for transmit to scale items. Font sizes are only supported on Hobart scales.
New Item Screen Customization: Select option in this section will make that section visible on the create new item screen. Items can be unselected to make the hide unused sections on the new item screen.
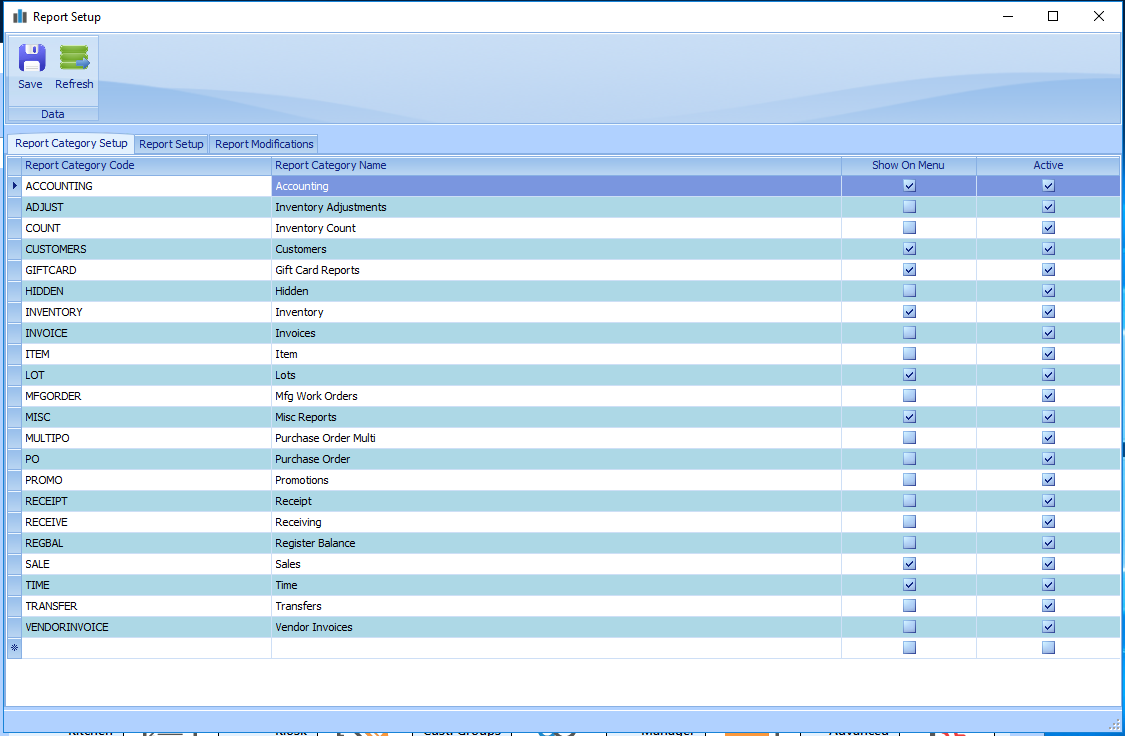
Reports
Report Category Setup: This screen controls the report categories that display on the Reports Menu.
Report Setup
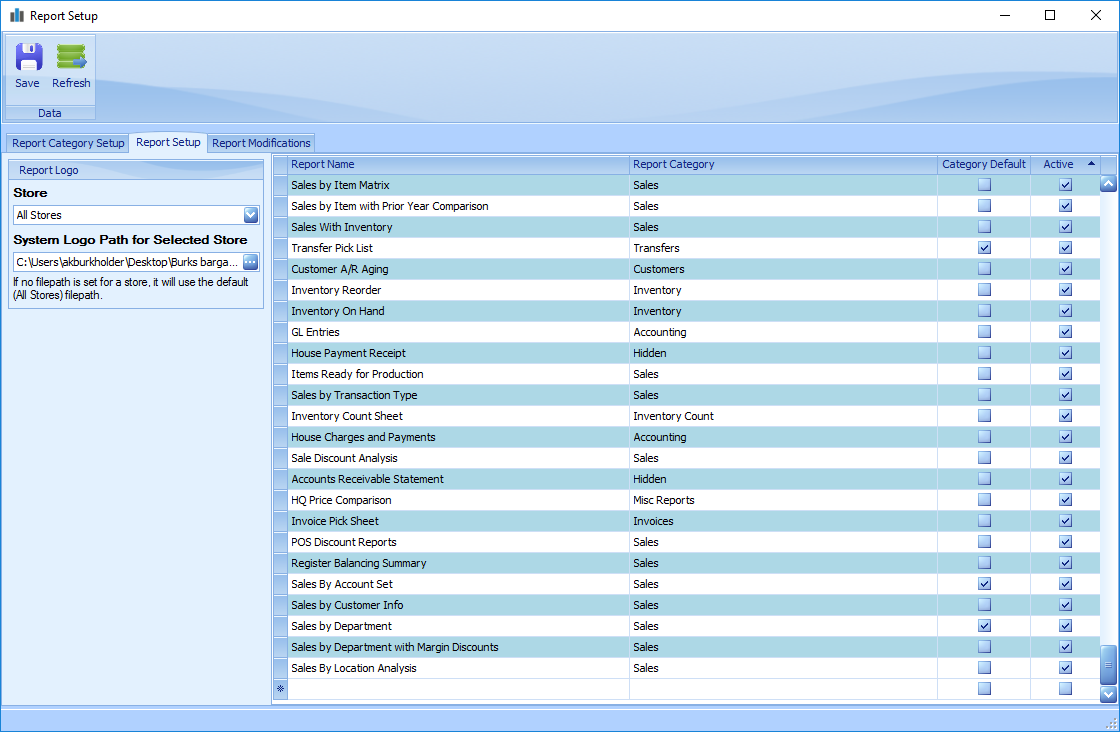
Report Logo: Click the button with the 3 dots to select a logo image file to display on reports. (i.e. Invoices, Purchase Orders, Packing Slips)
Different logos can be assigned to different stores.
Reports can be assigned to specific categories in the Report Category Column.
Selecting the Category Default box will make that report the default for the category.
Example: If the Invoice report is the default for the invoice category when you click print or quick print will be the report that prints or displays by default.
Report Modifications
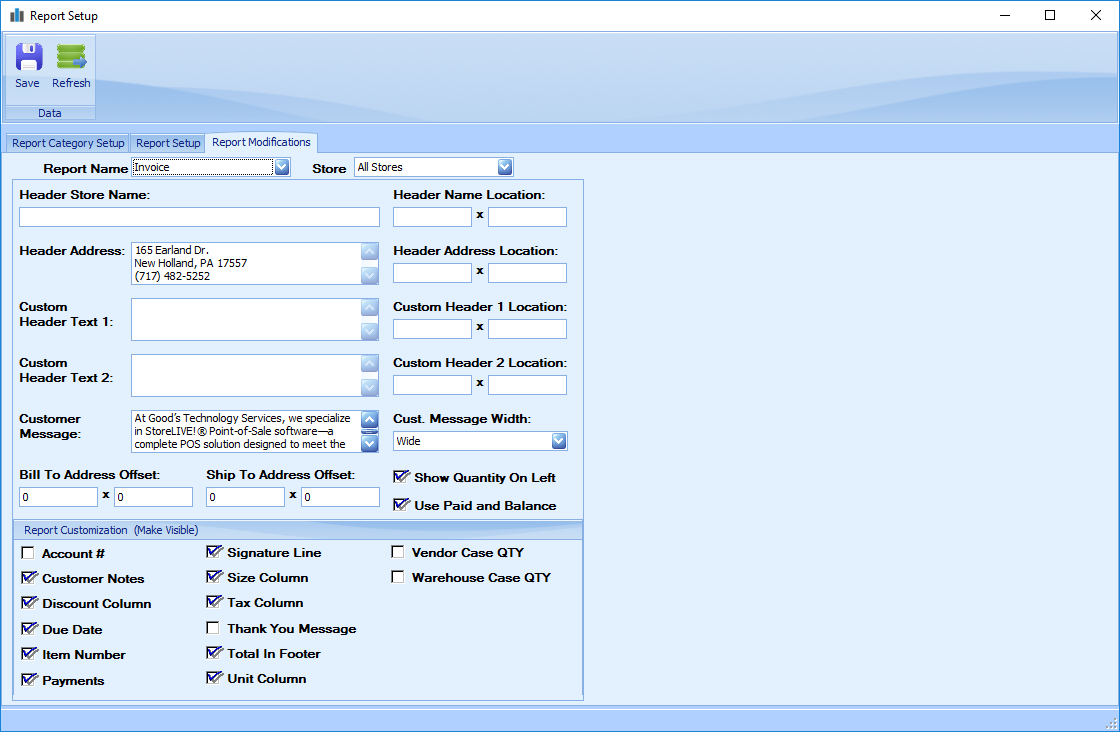
This screen allows you customize the information and location of information on specific reports.
Report Name: Select the report to be customized
Store: Select which store the customizations should be applied to.
Header Store Name: Store Name to be printed in the header
Header Name Location: Location in a coordinates format
Header Address: Store Address to be printed in the header
Header Address Location: Location in a coordinates format
Custom Header Text 1: Custom text to be printed in the header
Custom Header Text 1 Location: Location in a coordinates format
Custom Header Text 2: Custom text to be printed in the header
Custom Header Text 2 Location: Location in a coordinates format
Customer Message: Message for the customer to be printed at the bottom of the report
Customer Message Width
Bill To Address Offset: Location in a coordinates format
Ship To Address Offset: Location in a coordinates format
Show Quantity On Left
Use Paid and Balance
Report Customization (Invoice):
The below options can be selected to show them or unselected to hide them from the Invoice report.
-
Account#
-
Customer Notes
-
Discount Column
-
Due Date
-
Item Number
-
Payments
-
Signature Line
-
Size Column
-
Tax Column
-
Thank You Message
-
Total In Footer
-
Unit Column
-
Vendor Case QTY
-
Warehouse Case QTY
Report Customization (Packing List):
The below options can be selected to show them or unselected to hide them from the Invoice report.
-
Account#
-
Customer Notes
-
Custom Item Field (Style)
-
Location Column
-
Ship Instructions
-
Thank You Message
-
Total In Footer
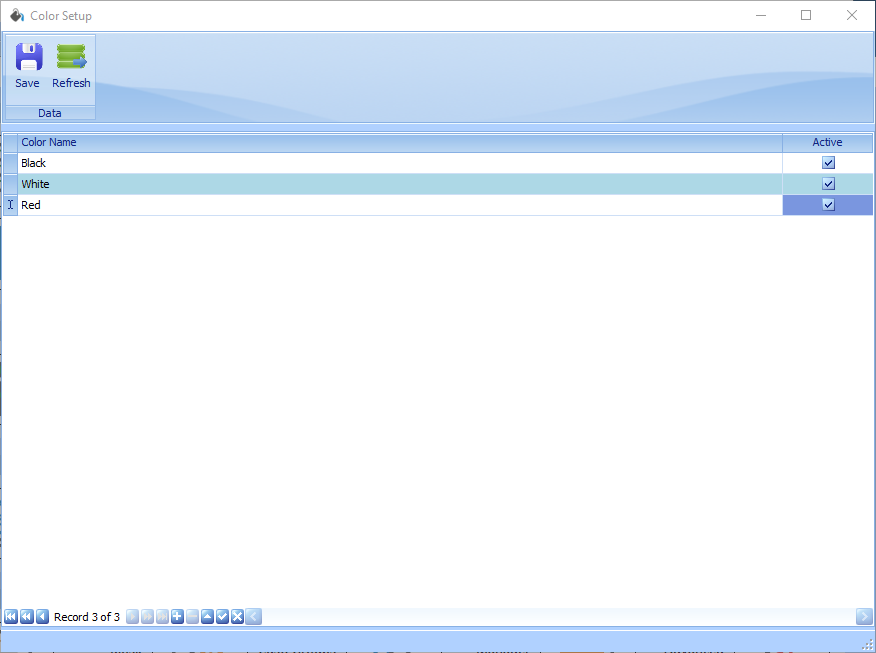
Colors

Controls the Color options that show in Item Maintenance.
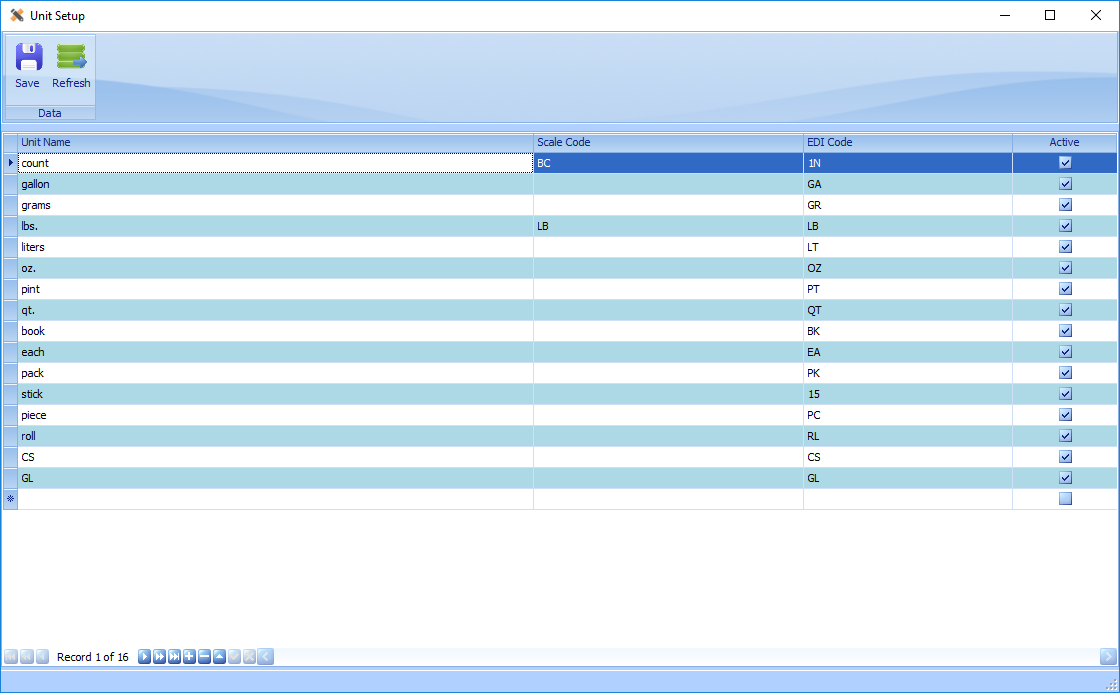
Unit Setup
Controls the Unit options that show in Item Maintenance.
Custom Labels
Item Labels: On this screen change the Custom Label name to set the name of this field.
Create the options that are available in this drop down in Item Maintenance by entering text in a new line.
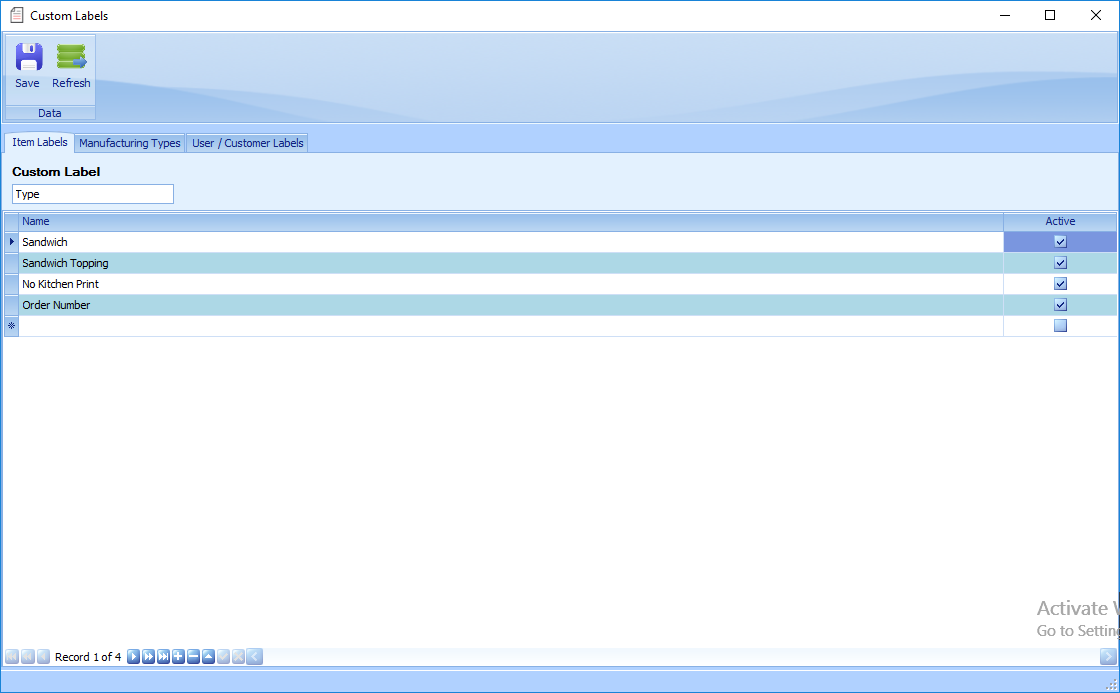
Manufacturing Types: On this screen create the options that are available in this drop down in Vendors and Manufacturs to categorize them by entering text in a new line.
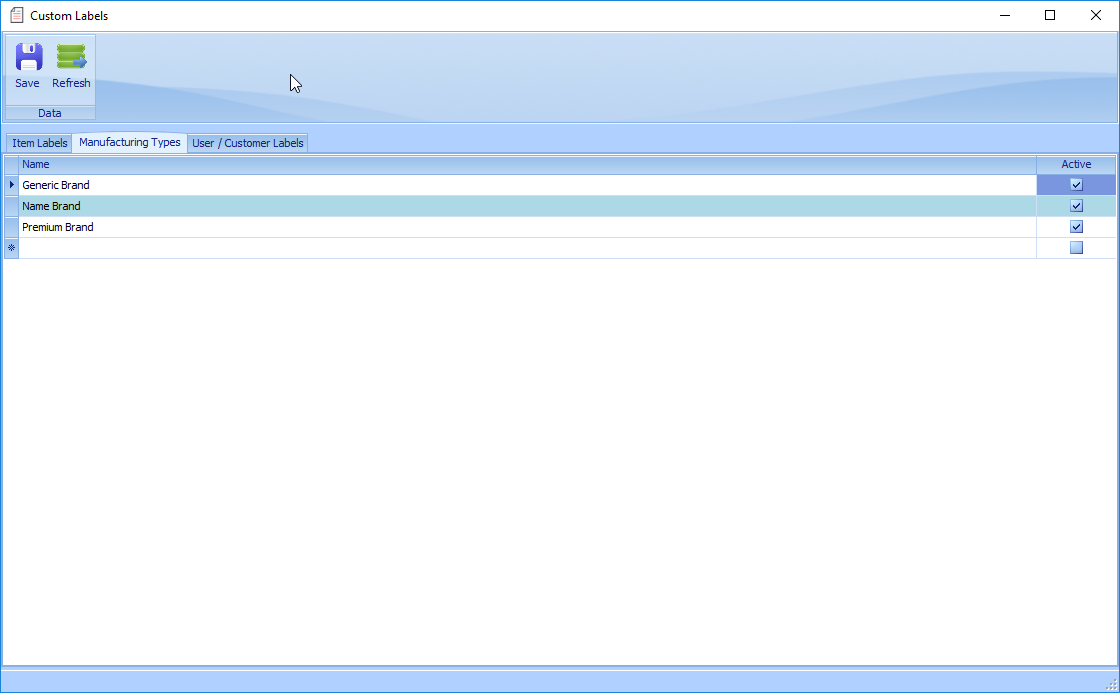
Consult Good’s Technology for uses and setup of User/Customer Labels.
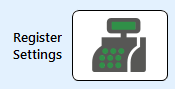
Register Settings
Registers
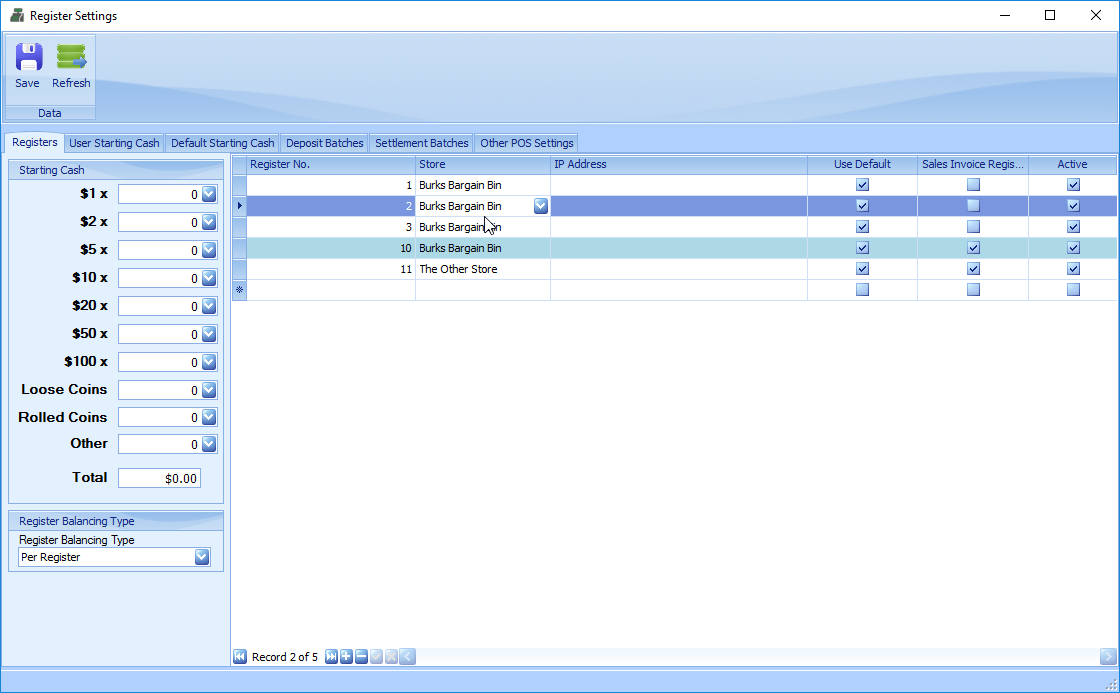
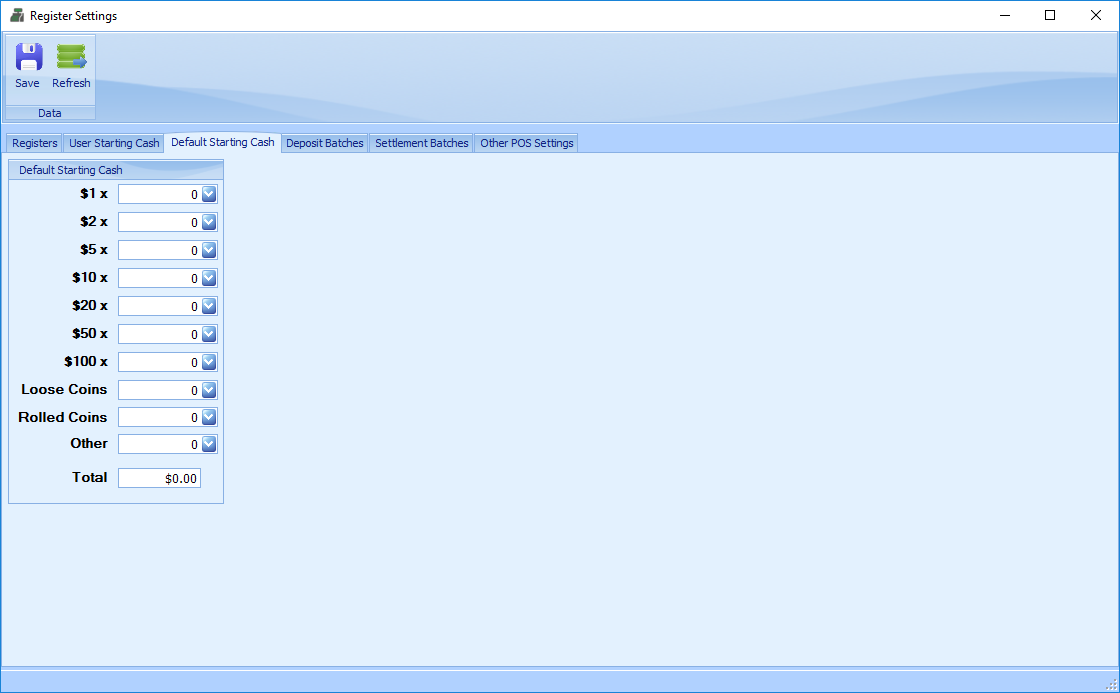
Starting Cash: In the starting cash section you can set the starting cash for each register. Select the register and enter the number of bills for each denomination or enter the total amount in the other field. The starting cash value for each register will be auto populated in register balancing. Default starting cash can be set in the Default Starting Cash tab.
Creating Registers: Before creating a new register you first need to purchase a license by contacting Good’s Technology Sales. Once you have purchased a license you can create register by typing in the register number and setting the store.
IP Address: Entering the registers IP address in this field will limit any communication to that IP Address. Recommended setup is to let this blank.
Use Default Starting Cash: When this is check the register will us the default starting cash amount setup in the Default Starting Cash Tab.
Sales Invoice Register: Checking this box will set that register as the sales invoice register for that store. Each store only has one sales invoice register. A sales invoice register does not require a register license.
Active: If a register can be marked in-active if no longer being used. Sales will no longer be recorded for an in-active register and a license is not required.
Register Balancing Type: The application can be setup to calculate totals in “per register” mode, where the same cash drawer is used with the register for a given day, or in “per user” mode, where each cashier is assigned to a drawer.
User Starting Cash
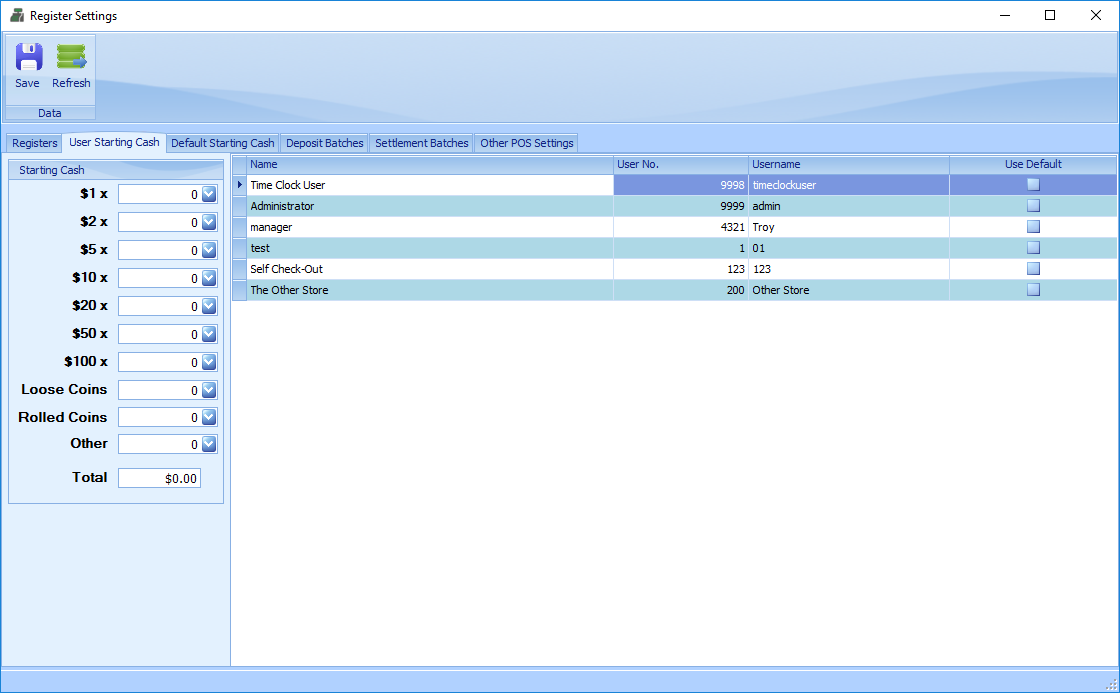
Starting Cash: In the starting cash section you can set the starting cash for each User. Select the User and enter the number of bills for each denomination or enter the total amount in the other field. The starting cash value for each register will be auto populated in register balancing.
Select Use Default if you would like the user to use the starting cash set in the Default Starting Cash tab.
Deposit Batches
Deposit batches are used when StoreLIVE is connected to an accounting system to deposit funds from a clearing account to a bank account. The deposit batch will appear in the summary tab of register balancing.
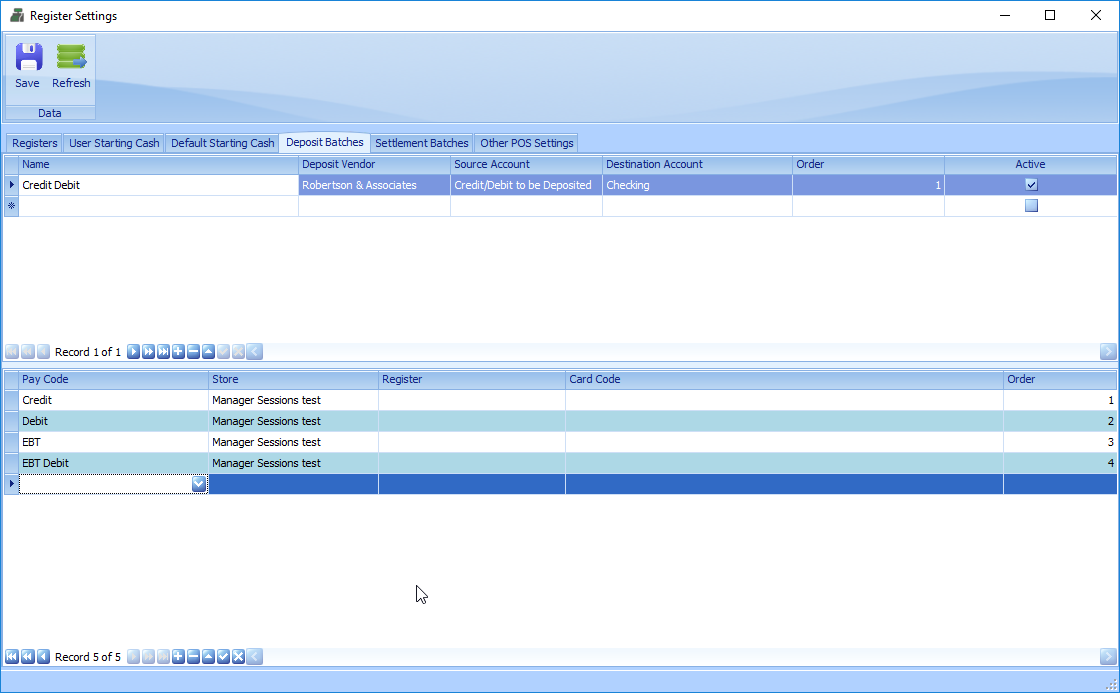
Creating a Deposit Batch
-
Enter a name for the deposit batch
-
set the vendor to be associated with the transaction. (not required)
-
Set the account the funds should be drawn from.
-
Set the account the funds should be deposited into
-
In the section below you will set the payment types that will be totaled to calculate the amount of the deposit.
Settlement Batches
Settlement batches are used to get a sum of specific payment types to reconcile deposits or processor batch amounts. The settlement batch will appear in the summary tab of register balancing.
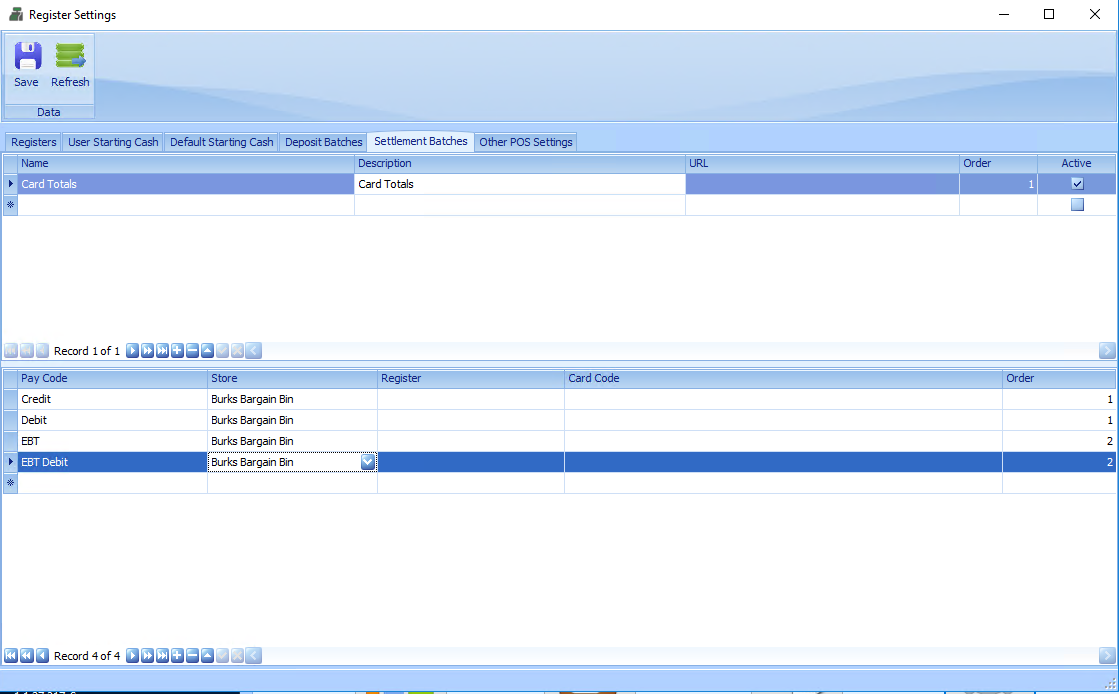
Creating a Settlement Batch
-
Enter a name for the Settlement batch
-
Enter a description for the settlement batch
-
The url for the bank or credit card processor site to be reconciled with can be entered. This will provide a convenient link in register balancing.
-
In the section below you will set the payment types that will be totaled to calculate the total amount to be reconciled.
Other POS Settings
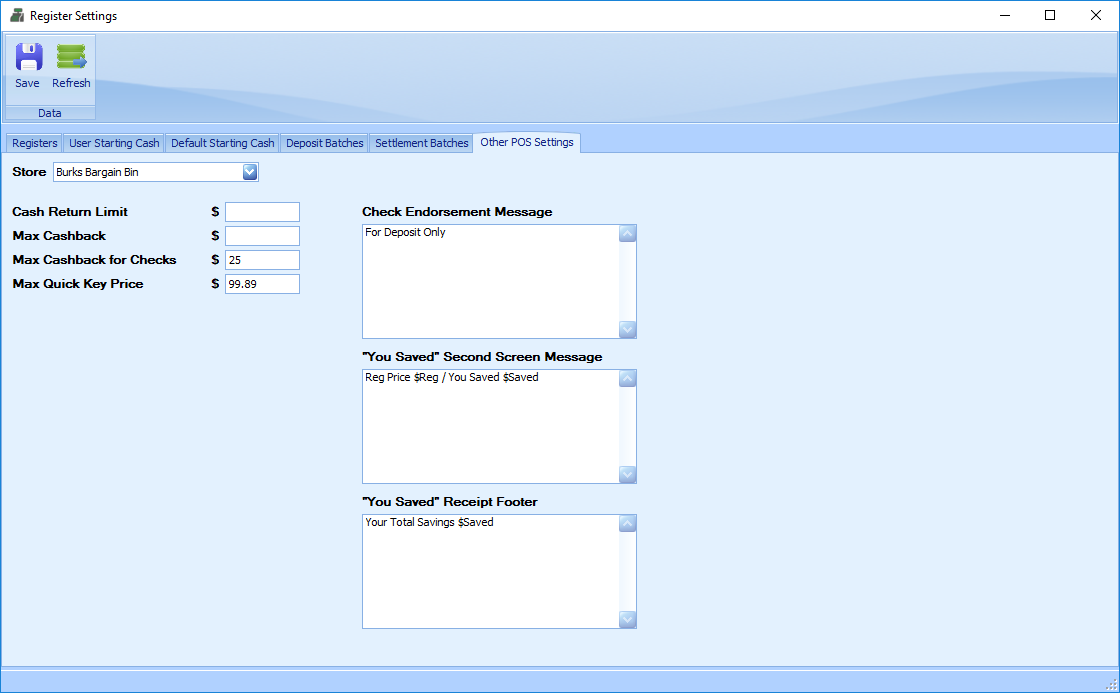
Select the store to set the settings for specific store.
Max Refund/Return Limit: Max refund limit for users with this permission level. Can be overridden by a manager.
Max Cashback: Max cashback for debit.
Max Cashback for Checks: Max cashback for checks limit for users with this permission level. Can be overridden by a manager.
Max Quick Key Price: Max price allowed on quick item keys. This is to prevent barcodes from being scanned as a price.
Check Endorsement Message: Message to be printed on checks if using a receipt printer with a check endorser.
“You Saved” Second Screen Message: Message to show on the customer display when an item is on a promotion (on sale)
“You Saved” Receipt Footer: Message to print on the receipt when an item is on a promotion (on sale)