
Customer information can be tracked in the StoreLIVE! Manager using the Customers screen. This information is primarily used for tracking customers with charge accounts, and tracking customers who are not authorized to pay with checks at the Point of Sale.
Creating or Maintaining Customers:
-
Click the Customers icon on the StoreLIVE! Manager Main Menu.
-
At the Customer Search screen, enter search criteria and click search to locate an existing
customer, or click “New Customer” to create a new customer. If locating an existing customer,
………….double click the customer entry in the search results after pressing search…………………………………….
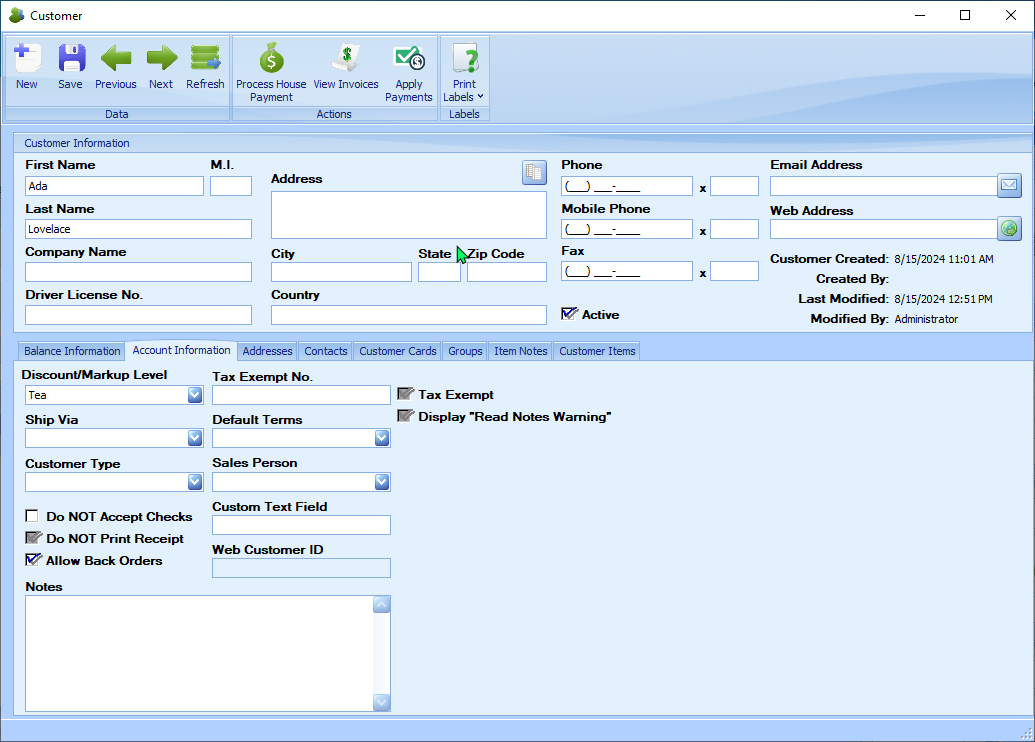
Customer Information:
On the Customer screen, basic customer information such as Name, Address and Phone can be entered. This information is primarily for informational purposes and is used to identify the customer.
You can also set an automatic discount for the customer. Select the Discount Level box. This will open a list of discounts that you have entered in the system. Select one of them. This discount will automatically apply to items at the register and on sales invoices.
Note: if you want to create a different discount level, you will need to go into Settings and select Setup Discount Levels to create a new discount.

Customer Addresses
Multiple addresses can be maintained for a customer. This is useful for situations where shipping and billing addresses are different, or multiple shipping addresses exist. Additional addresses entered for a customer available for selection on the Customer Invoice screen.
Customer Addresses
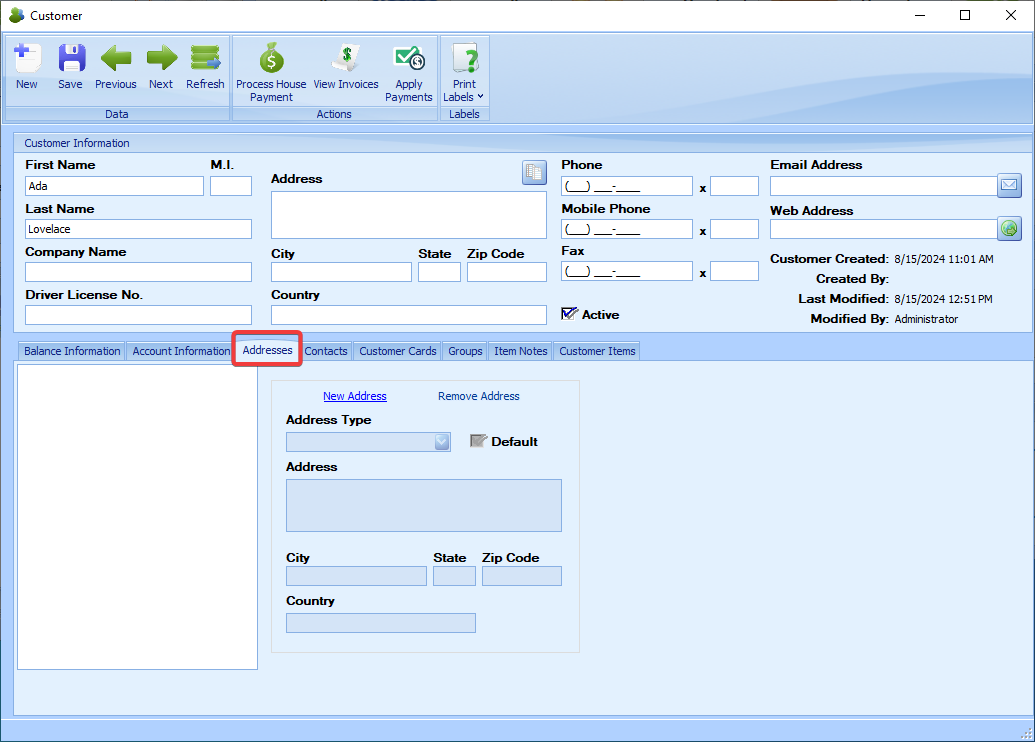
To Enter/Maintain additional addresses
-
Choose an existing address from the address list, or click the “New Address” link.
-
Choose an address type. Available options are Shipping and Billing.
-
If the entered address should be the default billing or shipping (depending on the type
selected), click the Default check box. (Defaults are used when creating customer invoices)
-
Address details are entered Address, City, State, Zip and Country fields.
Contacts
The contacts section contains an area to keep track of individuals or groups for a particular customer. This is particularly useful if the customer is a business that has many employees
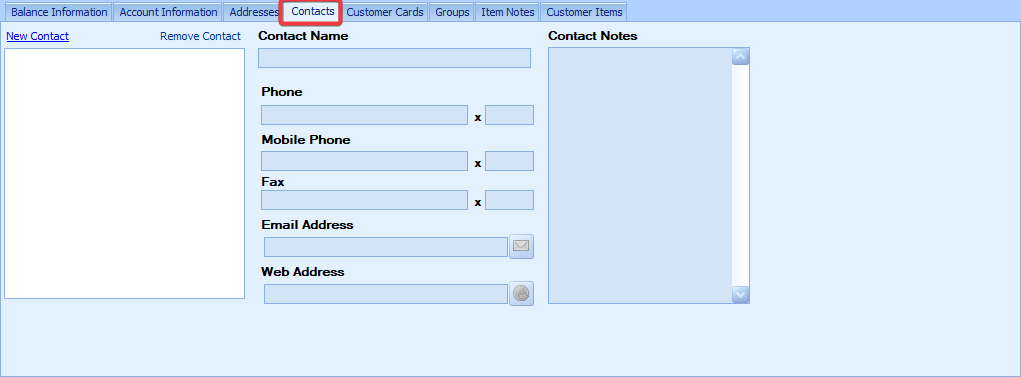
New Contact / Remove Contact – The New Contact link is used to create a new contact to the list, whereas the Remove Contact link is used to remove the currently selected contact from the list.
Under the contacts tab contact information such as Contact name, phone number, mobile phone number, fax number, email address and web address can be entered. In addition there is a notes section to keep track of any additional pieces of information that may be needed.
Setting up a House Charge Account for a Customer
In order for a customer to charge items to a “house” or store charge account at the Point of Sale, the customer must be setup correctly in the system.
To setup a customer charge account:
-
Locate or create a customer record in StoreLIVE! Manager.
-
On the Account Information Tab, enter the customer’s credit limit in the “Customer
Credit Limit” field.
-
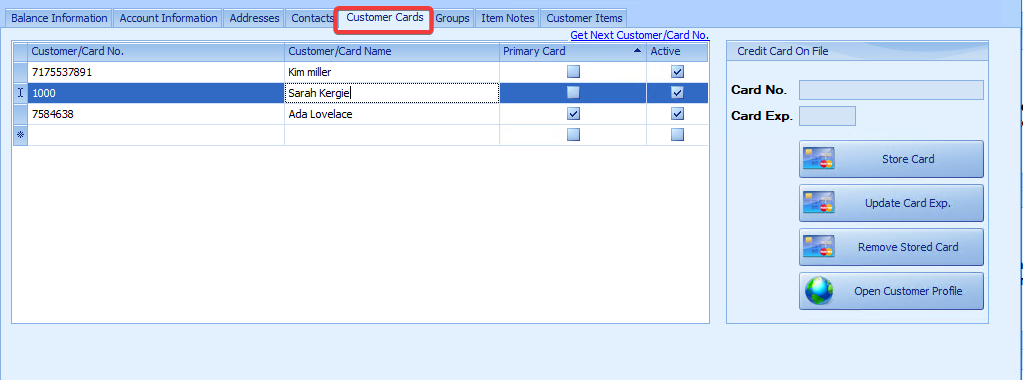
On the “Customer Cards” tab, enter a Card No. and a Card Name. The Card No. is the
number that the customer must supply at the Point of Sale when they want to charge
something to the account. The name associated with the card number will be displayed
to the cashier and will be printed on the receipt. (A card number must be numeric and
can be any length. A number such as a driver’s license number or phone number could be
used, or it can be a randomly selected number)
-
When finished entering the information, be sure to save any changes.
-
Note that multiple cards numbers may be assigned to a single customer. This is useful
when multiple people may be charging to the same account, as it allows tracking of who
purchased what items.
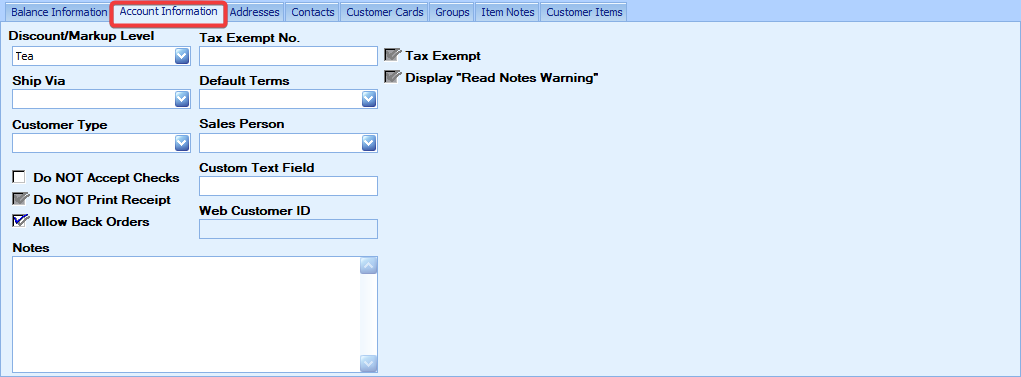
Account Information
Along the right hand side of the Account Information tab are some additional fields that may be setup as needed for the customer’s account.
Tax Exempt – This checkbox is used to indicate whether the customer is to be taxed or not. Note: To make use of this in the POS, once the transaction is totaled, the customer must be selected by going into the Trans Menu and selecting the Customer sub-menu option. Once the customer has been selected Taxes will automatically be removed from the order.
Tax Exemption No – If this customer is checked as Tax Exempt this would be the government issued tax exemption #. This is needed to keep track of tax exemptions in case of an audit or for accounting purposes.
Customer Credit Limit – This is the maximum amount the customer is allowed to have as an outstanding balance. Note: The current Customer balance can be viewed in the ‘Customer Balance’ field above.
Default Terms – This field is used to select the default conditions of any credit balance a customer is carrying. For Example, Net 30 indicates that the full balance should be paid within 30 days of the charge.
Discount / Markup Level – This field can be used to give the selected customer a set discount, such as a 10% discount. Note: Similar to the Tax Exemption, to make use of this in the POS, once the transaction is totaled, the customer must be selected by going into the Trans Menu and selecting the Customer submenu option. Once the customer has been selected any applicable discounts will automatically be calculated onto the order.
Do NOT Accept Checks from This Customer – This checkbox is discussed in a later section, which can be found here.
Do NOT Print Receipt for this Customer-If the customer makes a charge purchase at the Point of Sale, no receipt will print when this is checked.
Sales Person- This lets you track a person tied to an interaction and can be used on invoices.
Customer type- This lets you specify the type of customer an example bein an auction customer.
Notes – Stores any misc. info that needs to be stored about the customer
Viewing Customer Charges
Customer charges can be viewed on the Customer screen, in the Balance Information section.
To view the charges:
-
Enter a date range in the From Date and To Date fields, and press Search

-
Clicking the Card No. in the Card No field will display the transaction details.
Maintaining Customer Balances
1.The current customer balance is visible in the Customer Balance field.
-
The system automatically increases the customer balance when a house charge is processed
at the Point of Sale, and automatically decreases the balance when a house payment is
processed at the Point of Sale.
-
The customer balance amount can be manually updated by entering a new number in the
customer balance field. This can be useful if a customer issues a payment to their account,
but the payment is not processed on the Point of Sale system. If integration with and
accounting system is enabled, the balance will be updated automatically from the
accounting system
-
If a customer exceeds their credit limit, House Charges to the customer account will be
declined at the Point of Sale.
-
A House Charges and Payments report is available in the StoreLIVE! Reports menu. This
report allows viewing house charges and payments per customer for a given date range.
Flagging a Customer as “Do Not Accept Checks from this Customer”
When a customer pays with a check at the Point of Sale, and the Customer ID that is entered by the cashier is checked against the Driver License No. field in the Customer screen. If a match is found, and the “Do Not Accept Checks From this Customer” field is checked, the Point of Sale system will decline the check.
The basic steps to decline a check from a customer are as follows:
-
Create a customer record in the system.
-
Enter the ID number that will be used to identify the customer in the Driver License No.
field. (typically the customers driver license number, but could be another ID number such as
a Phone number)
-
Check the “Do NOT Accept Checks From this Customer” field and Save changes.
If the bad-check issue is resolved and you wish to accept checks from this customer in the future you can un-check the “Do NOT Accept Checks From this Customer” field. It is not necessary to remove the number in the Driver License No. field
Note: When checking the Customer ID entered, this ID is also checked against all Card No. entries for that customer. This is primarily used to keep track of any differing information a customer may give instead of using their Driver’s License.