The Item Lookup screen is used to quickly find an item, review its price and item details, check inventory, print labels, and perform common item maintenance tasks.
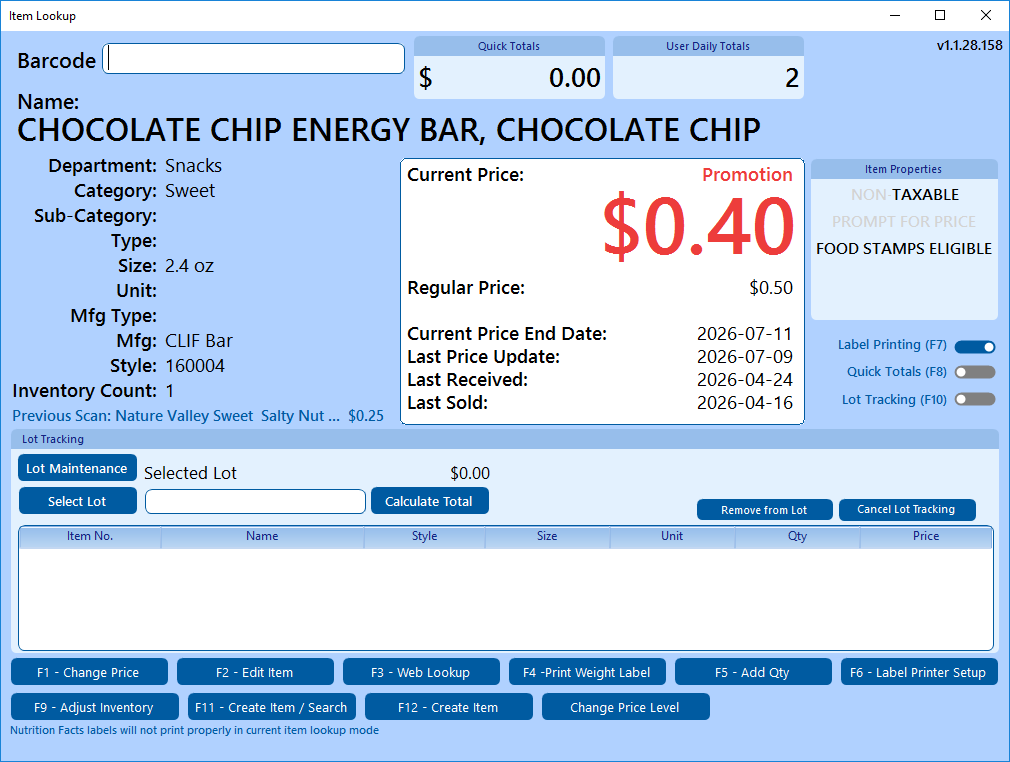
Looking Up an Item
-
Click in the Barcode field.
-
Scan the item barcode or type the barcode manually.
-
Press Enter if the item does not load automatically.
Once the item is found, the screen displays the item name, department, price, inventory count, and related item information.
Item Information Area
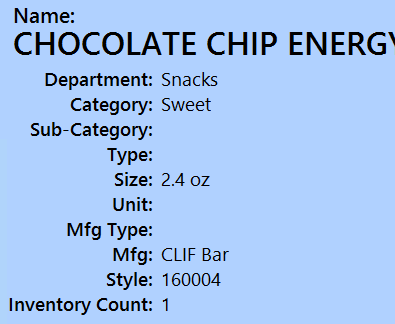
After scanning an item, the left side of the screen shows basic item details:
|
Field |
Description |
|---|---|
|
Name |
The item description shown in the system |
|
Department |
The department the item belongs to |
|
Category |
The item category |
|
Sub-Category |
Additional category grouping, if used |
|
Type / Size / Unit |
Extra item classification fields |
|
Mfg Type / Mfg |
Manufacturer information |
|
Style |
Item style number or vendor style |
|
Inventory Count |
Current quantity available in inventory |
Price Information
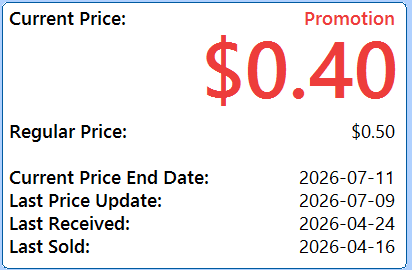
The center price box shows the item’s pricing history and current price.
|
Field |
Description |
|---|---|
|
Current Price |
The price currently being charged |
|
Regular Price |
The normal price for the item |
|
Current Price End Date |
Date the current sale or temporary price ends |
|
Last Price Update |
Last date the item price was changed |
|
Last Received |
Last date inventory was received |
|
Last Sold |
Last date the item was sold |
Item Properties
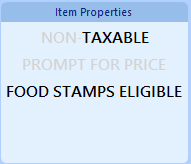
The Item Properties box shows special item settings. The items current properties will be in black.
|
Property |
Meaning |
|---|---|
|
Non-Taxable |
Item is not taxed or Not Taxed |
|
Prompt for Price |
Cashier must enter the price at sale time |
|
Food Stamps Eligible |
Item can be purchased with food stamps / EBT |
Disabled or inactive properties may appear faded.
Toggle Options
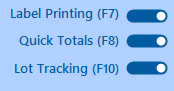
On the right side of the screen are quick switches and can be turned on and off.
|
Toggle |
Use |
|---|---|
|
Label Printing (F7) |
Turns label printing on or off for the lookup |
|
Quick Totals (F8) |
Enables or disables quick total tracking |
|
Lot Tracking (F10) |
Opens or hides lot tracking tools |
Lot Tracking
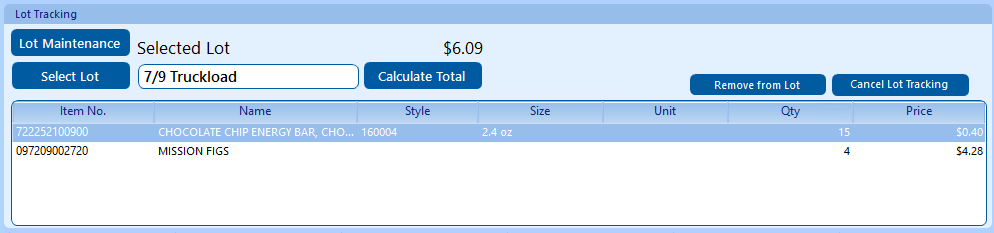
The Lot Tracking section is used to track the potentials sales from a specific load.
Selecting a Lot
-
Turn on Lot Tracking.
-
Click Select Lot.
-
Choose or create the correct lot.
-
The selected lot will appear beside Selected Lot.
Calculating Lot Total
Calculates the totals of the items scanned into the lot.
Removing or Canceling Lot Tracking
|
Button |
Action |
|---|---|
|
Remove from Lot |
Removes the item from the selected lot |
|
Cancel Lot Tracking |
Cancels all the items scanned into lot tracking for the current lookup. |
The lot grid below the buttons lists lot-related item details, including item number, name, style, size, unit, quantity, and price.
Bottom Action Buttons
The bottom buttons provide quick access to common tasks.

|
Shortcut |
Button |
Description |
|---|---|---|
|
F1 |
Change Price |
Change the item’s price |
|
F2 |
Edit Item |
Opens item maintenance for editing |
|
F3 |
Web Lookup |
Search for item information online |
|
F4 |
Print Weight Label |
Print a weight label for the item |
|
F5 |
Add Qty |
Add quantity to the item on the current lot |
|
F6 |
Label Printer Setup |
Choose the label printer and label format |
|
F9 |
Adjust Inventory |
Make an inventory adjustment (inventory items only) |
|
F11 |
Create Item / Search |
Search for or create a new item |
|
F12 |
Create Item |
Create a new item record |
|
|
Change Price Level |
Change the pricing level being displayed when scanning items |
Some options may require manager permission.
Notes
-
Nutrition Facts labels may not print properly from the Item Lookup screen.
-
Some buttons may be disabled depending on your permissions or store setup.
-
If an item does not appear after scanning, try entering the barcode manually or use Create Item / Search.