
Sub Menus are On-Screen menus that allow items to be added to a sale by pressing a button instead of entering or scanning an Item Number. To select an Item from a Sub Menu, press the “Sub Menus” button on the main screen.
This will bring up a screen with this format:
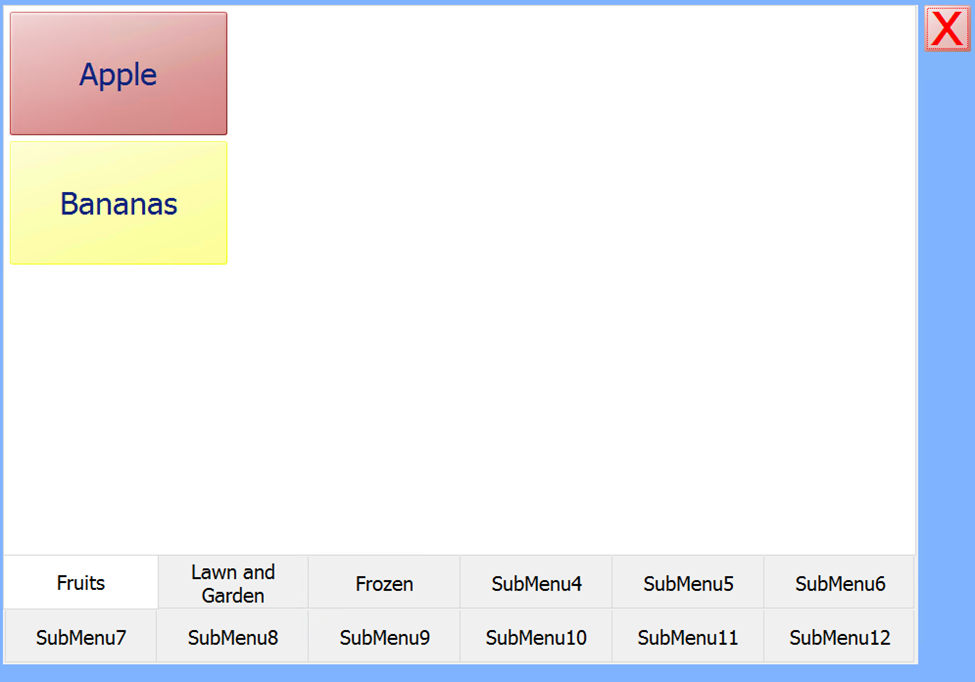
By default, the Sub Menu on the top left is displayed. Pressing one of the Sub Menu buttons at the bottom of the screen will display other sub menus. To select an item, simply press the button that corresponds to the item and it will be added to the sale and take you back to the main screen. Each Sub Menu can contain up to 16 items (64 if set to Small), and 12 Sub Menus are available.
Quick Items
The Quick Items Menu is very similar to a Sub Menu, allowing you to select an item by pressing a button.
The one difference is that prices can be manually keyed prior to selecting an item from a Quick Menu, and the item will be added to the sale with the keyed price instead of the price entered in the StoreLIVE! Manager database.
The quick menu is generally used for generic “Department” items, allowing items that are not specifically tracked or entered into the system to be sold under a department. A Quick Menu button is very similar to a Department button on a traditional cash register.
As an example, if a “Grocery Department” button was added to the Quick Menu, an item could be rung up under this department using the following steps:
-
Using the on-screen Key Pad, key in the item price, without the decimal. For example, $1.99 would be entered as 199. (The item can be entered with the decimal as well.)
-
Press the Quick Item button.
-
Press the “Grocery Department” button on the Quick Menu.
-
The item will be added to the sale with the unit price of $1.99.